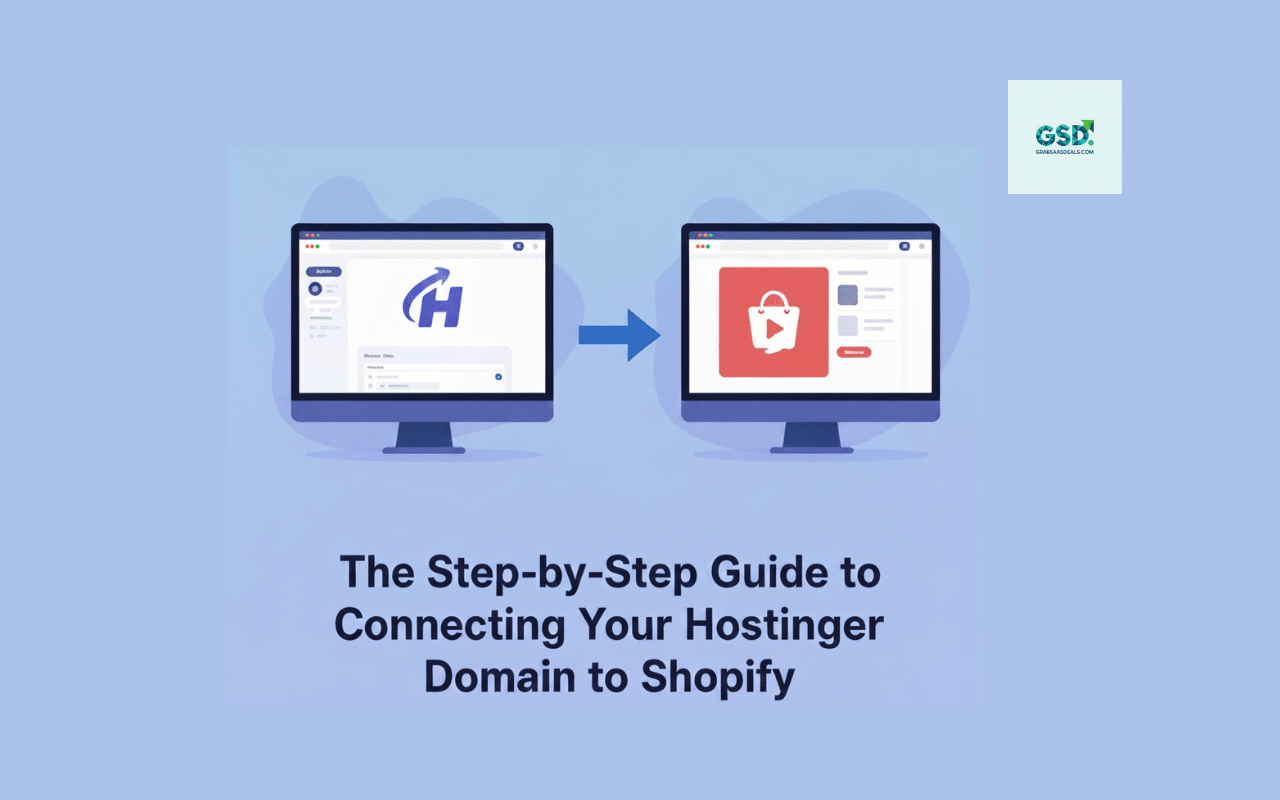
You’ve done it. You’ve secured the perfect domain name from Hostinger and built a beautiful storefront on Shopify. Now, there’s just one crucial step left: making them work together. Connecting your Hostinger domain to Shopify replaces the default .myshopify.com URL with your own professional, branded address.
This process, which involves changing some settings called DNS records, might sound technical, but it’s surprisingly straightforward. This guide will walk you through every click, step-by-step, to link your Hostinger domain to your Shopify store quickly and correctly.
Why Connect a Custom Domain to Shopify?
Before we dive into the “how,” let’s quickly cover the “why.” Using a custom domain is non-negotiable for a serious e-commerce business.
- Brand Authority:
www.yourbrand.comlooks infinitely more professional and trustworthy thanyourbrand.shopify.com. - Customer Trust: A branded domain signals to customers that you are a legitimate and established business, which can directly increase conversion rates.
- Marketing: It’s easier for customers to remember, type, and share your domain, improving your marketing effectiveness across all channels.
Before You Begin: Prerequisites
To make this process as smooth as possible, have the following ready:
- Your Hostinger (hPanel) login credentials.
- Your Shopify admin login credentials.
- The exact domain name you purchased from Hostinger.
Ready? Let’s get your store live.
How to Connect Your Hostinger Domain to Shopify (The Manual Method)
While some registrars offer automatic connections, the most reliable and common way to connect Hostinger to Shopify is by manually editing your DNS records. Don’t worry, it’s just a “copy and paste” exercise.
Step 1: Add Your Domain in Shopify
First, you need to tell Shopify which domain you want to connect.
- Log in to your Shopify admin dashboard.
- In the bottom-left corner, click on Settings.
- In the settings menu, go to Domains.
- Click the Connect existing domain button.
- Enter the domain you bought from Hostinger (e.g.,
yourbrand.com) and click Next. - Shopify will now show you a page with the specific values you need. It will say “Follow your provider’s instructions.” Click that link, and you will see the two records you need:
- The A Record (which will be an IP address:
23.227.38.65) - The CNAME Record (which will be a name:
shops.myshopify.com)
- The A Record (which will be an IP address:
Keep this Shopify window open. You’ll need to copy these values.
Step 2: Access Your DNS Zone Editor in Hostinger
Now, open a new browser tab and log in to your Hostinger account (hPanel).
- Once logged into hPanel, click on Domains in the top menu.
- Find the domain you want to connect to Shopify and click the Manage button next to it.
- On the domain management page, look for DNS / Nameservers in the left-hand sidebar.
- You are now in the DNS Zone Editor. This is where you will make the changes.
Step 3: Configure the A Record in Hostinger
The A Record points your main domain (yourbrand.com) to Shopify’s servers.
- In your Hostinger DNS Zone Editor, look through the list of existing records. You are looking for a record with the Type
Aand the Name@. - There should already be an A record pointing to a Hostinger IP. Click the Edit button for this record.
- Do not change the Name. It should remain
@(which stands for your root domain). - In the Value (or “Points to”) field, delete the old IP address and replace it with Shopify’s IP address:
23.227.38.65
- Leave the TTL (Time To Live) at its default setting (usually 14400 or 3600).
- Click Save (or “Update”).
Note: If you see any other A records (besides the one you just edited), you should delete them to avoid conflicts, unless they are for subdomains you use for other purposes (like blog.yourbrand.com).
Step 4: Configure the CNAME Record in Hostinger
The CNAME Record points the “www” version of your site (www.yourbrand.com) to your root domain.
- Back in your Hostinger DNS Zone Editor, look for a record with the Type
CNAMEand the Namewww. - Click the Edit button for this record.
- Name: Should be
www. - In the Value (or “Target”) field, delete the old entry and replace it with Shopify’s CNAME value:
shops.myshopify.com
- Leave the TTL at its default and click Save (or “Update”).
If you don’t see a CNAME record with the name www, simply click Add New Record and create one with these settings.
Step 5: Verify the Connection and Wait for Propagation
You’ve done the hard part! Now, go back to your Shopify admin window.
- On the Settings > Domains page, your domain should be listed.
- Click the Verify connection button.
It may not connect immediately. This is normal. The changes you just made need to be broadcast across the internet in a process called DNS propagation.
DNS propagation can take anywhere from 30 minutes to 48 hours. Usually, it’s on the faster side (under an hour), but be patient. You can periodically click the “Verify connection” button. Once it’s successful, the “Pending” status will change to “Connected,” and you’ll see a green “Connected” label.
Common Troubleshooting & Tips
- Still Not Working After 48 Hours? Double-check your settings. The most common errors are typos in the IP address (
23.227.38.65) or inshops.myshopify.com. - Don’t Change Nameservers: You are only editing DNS records. You should not change your nameservers in Hostinger to point to Shopify. This is a different, more complex process (domain transfer) that isn’t necessary for just connecting.
- Hostinger Email: Did you get email hosting from Hostinger? Don’t worry. This process will not affect your email because you did not touch the MX records, which control your mail.
FAQs: Connecting Hostinger and Shopify
How long does it take to connect my Hostinger domain to Shopify?
While the steps only take about 10 minutes, you must wait for DNS propagation. This can take from 30 minutes to 48 hours.
Will this affect my email hosting with Hostinger?
No. As long as you only edit the A record and the www CNAME record, your email (controlled by MX records) will not be affected.
What’s the difference between connecting and transferring my domain?
- Connecting (what we just did) means your domain stays registered and billed at Hostinger, but it points to your Shopify store. This is the fastest and easiest method.
- Transferring means you move the entire domain registration from Hostinger to Shopify. Shopify would then handle your billing and renewal.
Conclusion: Launch Your Store with Confidence
That’s it! You have successfully bridged the gap between Hostinger and Shopify. By connecting your custom domain, you’ve taken a massive step toward building a professional, credible, and memorable online brand. Your customers will now land on a seamless, branded storefront.
Now that your technical setup is complete, you can focus on what really matters: marketing your products and making your first sale.